Setting up an Umbraco 9/.NET Core development environment on Ubuntu
2021-07-28
My first actual blog post, I feel good about finally starting this off, I guess we'll see how it goes after a while and whether I actually continue with it or not! Anyway, enough about the boring stuff, let's crack on with why I'm here, Umbraco 9 has been released in release candidate and I'm excited about it! A friend of mine was tinkering with trying to get .NET core working on his new laptop in Ubuntu and it inspired me to try it with Umbraco 9 although I was also entirely hoping to gain some experience with just generally building .NET core apps on Linux distributions, however, I'm far too lazy to dual boot and historically with the technologies I've worked with I've just had an easier time on Windows, so my first step was to build an Ubuntu VM which I did using VirtualBox.
As this is more of an aside than an actual part of this experience for me, I'll just give some basic information as to what I provisioned the VM with, the details of which are as follows.
- Access to 1 CPU Core
- 4096MB RAM
- A modest 20GB of my HDD for storage space. (Fixed size)
- Ubuntu 20.04.2.0 LTS (https://ubuntu.com/download/desktop)
Now that I have my Ubuntu VM all up and running, I can move onto the more fun stuff, configuring the environment for .NET core development. Firstly, I had to install the .NET Core SDK which turned out to be a rather simple affair thanks to the rather well documented process laid out in the Microsoft docs. (https://docs.microsoft.com/en-gb/dotnet/core/install/linux-ubuntu#2004-) So, we start off by running the commands, which set the Microsoft package signing key as a trusted key.
wget https://packages.microsoft.com/config/ubuntu/20.04/packages-microsoft-prod.deb -O packages-microsoft-prod.deb
sudo dpkg -i packages-microsoft-prod.deb
rm packages-microsoft-prod.deb

Once these have been successful, you now need to actually install the .NET Core SDK itself, so I carried on with the following commands.
sudo apt-get update
sudo apt-get install -y apt-transport-https
sudo apt-get update
sudo apt-get install -y dotnet-sdk-5.0
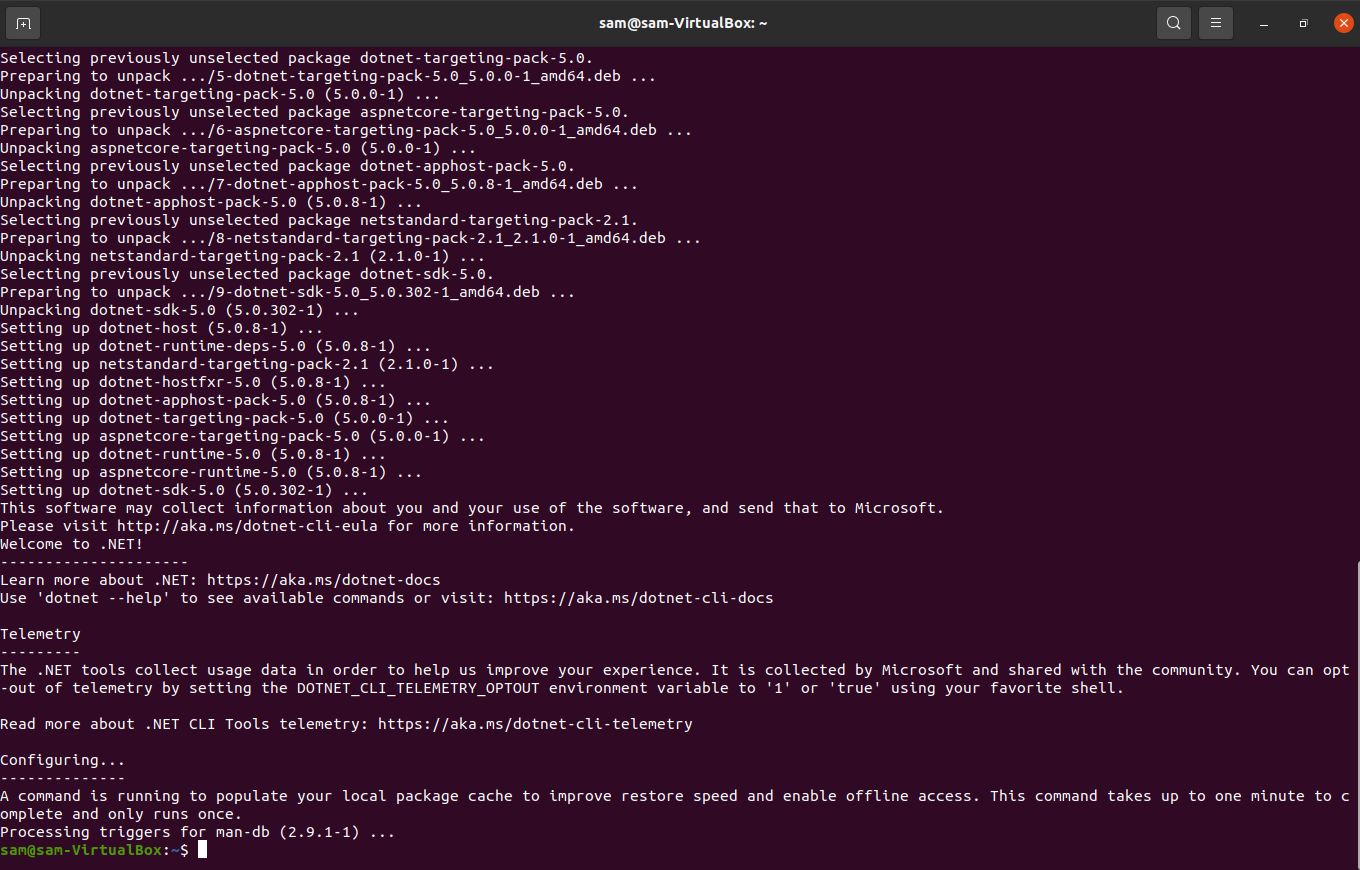
I now have the .NET core SDK installed on my Linux environment, which means I can push on and get VS Code installed, now I have a couple of choices here, I can use something that I keep reading about that's called snap, or I can do it the old fashioned way using apt, I'll opt to use snap today as it's a new experience for me, whenever I have used Ubuntu in the past I did everything with apt, but a one line command just makes me happy! Although I'm sure there are sufficient reasons for using apt over snap for a lot of the Ubuntu community, anyway I pressed on and ran the following command to install VS Code.
sudo snap install --classic code

Now that I have VS Code installed, I can open it by using the following command within my terminal.
code
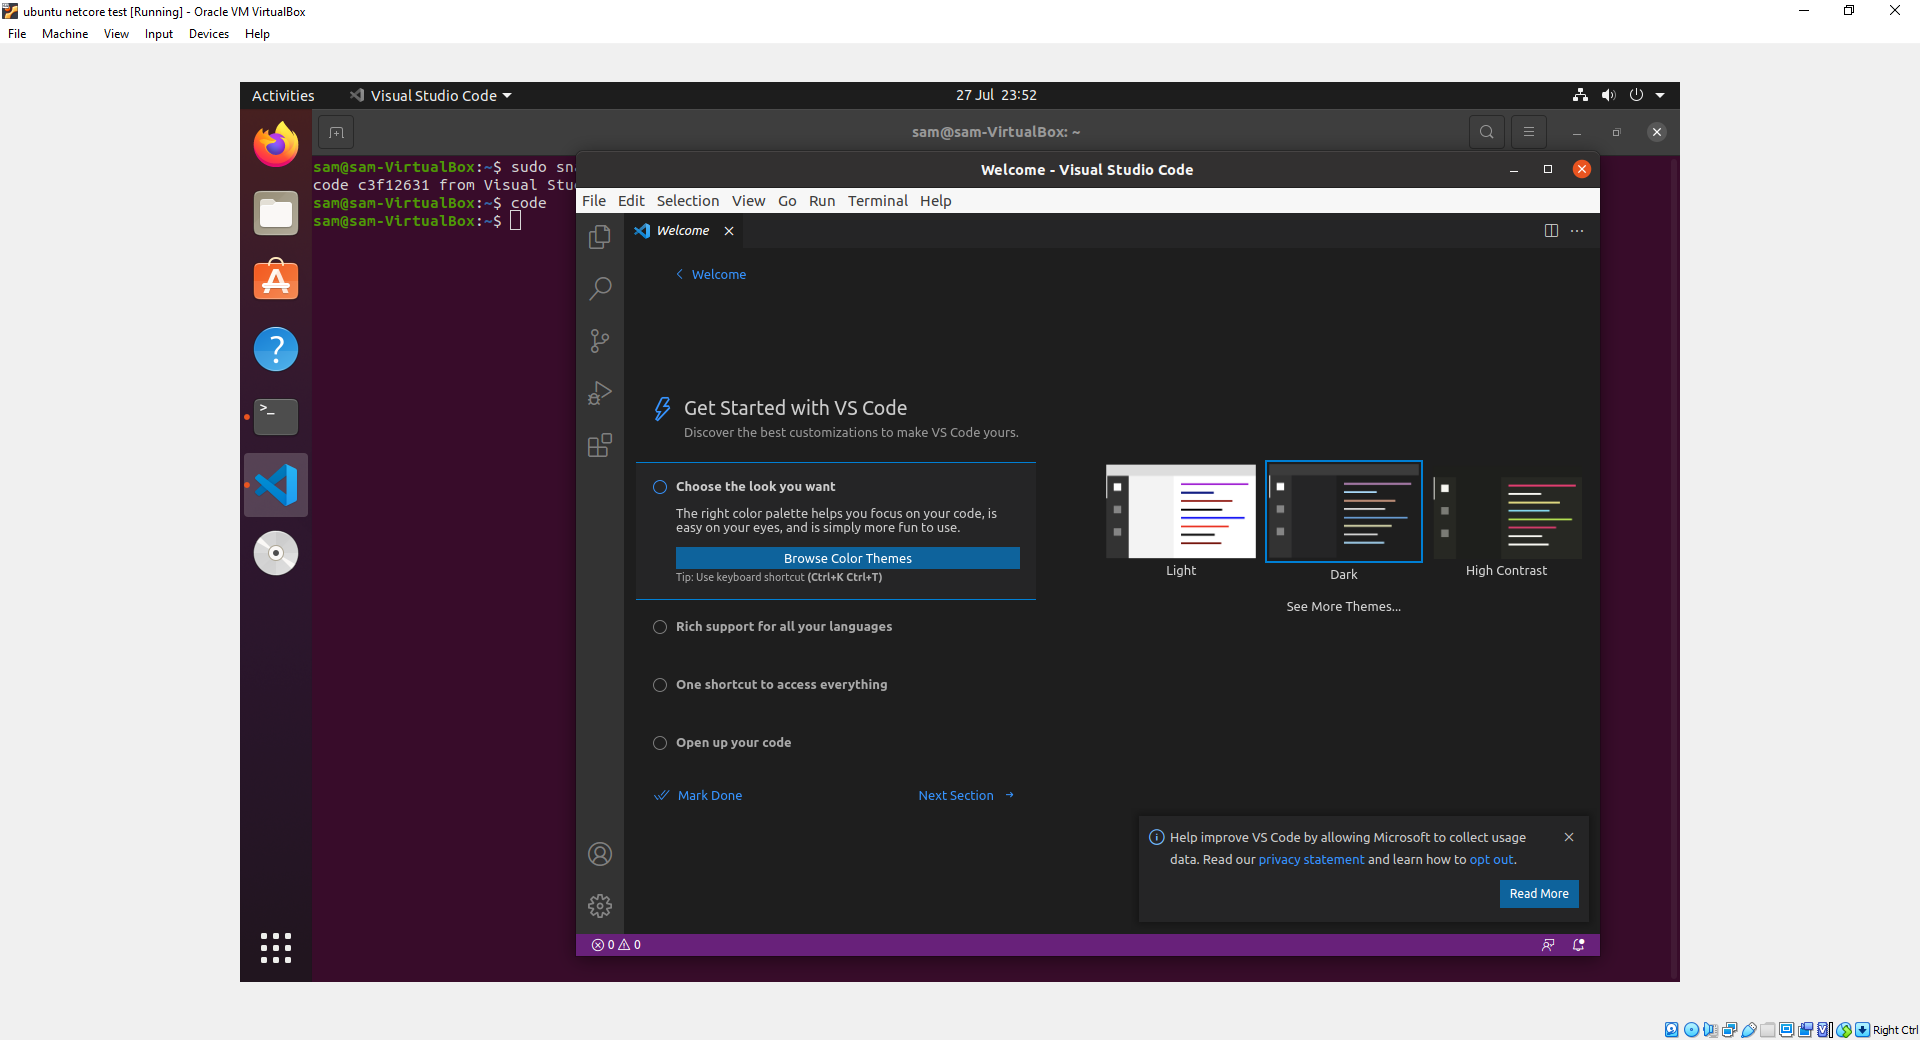
After installing VS Code there are some extensions that I require to be able to run and debug my .NET core applications, the main extension required is the C# extension, I install this by pressing F1 to open the Command Pallett and typing the following value
Extensions:Install Extensions
Which opens up the extension marketplace, which you can then use to search for the C# extension and install it by clicking the small blue "install" button.
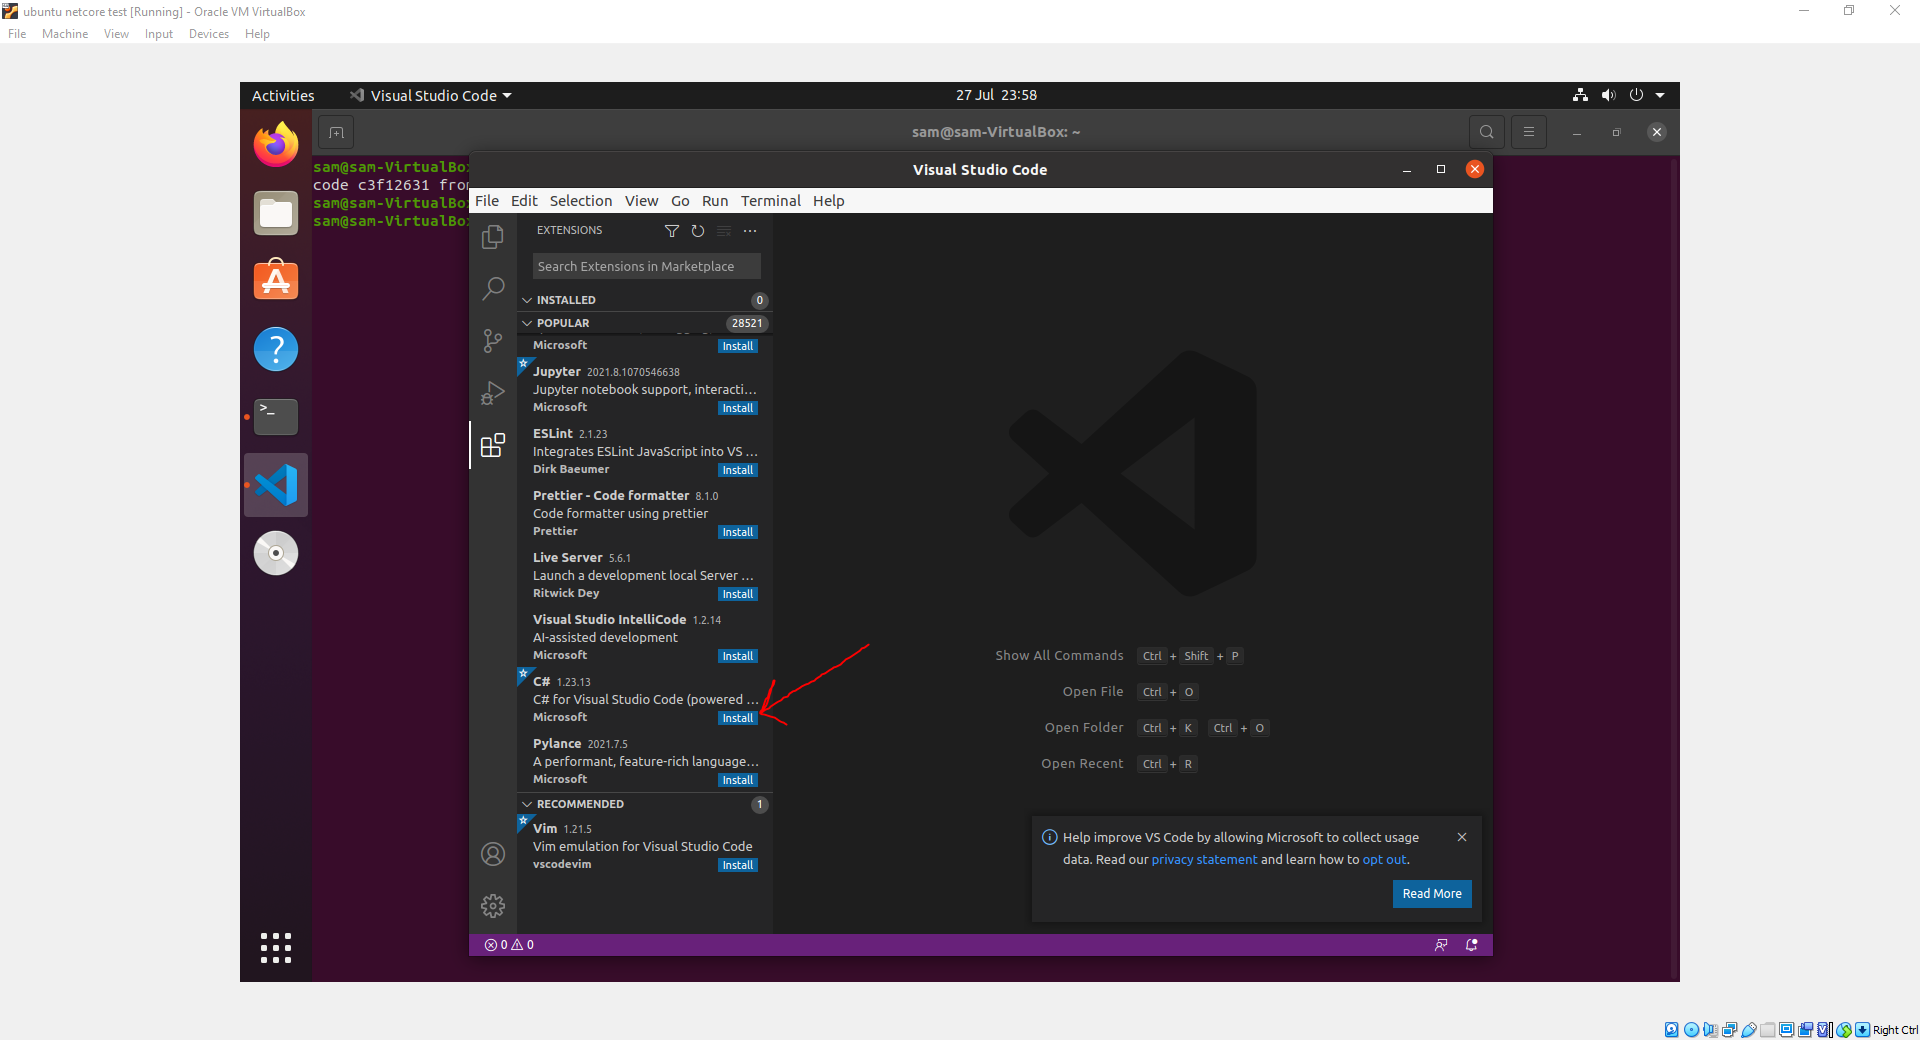
This should install rather quickly, you could also install a solution explorer to allow you to open and traverse solutions in a more standard Visual Studio fashion, but this is not required to run and debug .NET Core code in VS Studio.
Upon completing this I'm ready to start my setup for the actual Umbraco installation that I plan to install, but for that I'll need access to a database, the most convenient way for me to accomplish this was to install MSSQL on my ubuntu environment, which is something I had never done before, although I was pleasantly surprised by the simplicity of the setup in comparison to my experiences with the MSSQL setup on Windows, although, I would guess that the main reason for this is that there is a lack of features surrounding the SQL Server Agent etc. on the Linux variant.
Anyway, on to the installation of MSSQL, with the following commands, we import the public repository GPG Keys, register the MSSQL Server repository, install MSSQL Server and run the command line setup to set our SA passwords and configure our edition.
wget -qO- https://packages.microsoft.com/keys/microsoft.asc | sudo apt-key add -
sudo add-apt-repository "$(wget -qO- https://packages.microsoft.com/config/ubuntu/20.04/mssql-server-2019.list)"
sudo apt-get update
sudo apt-get install -y mssql-server
sudo /opt/mssql/bin/mssql-conf setup
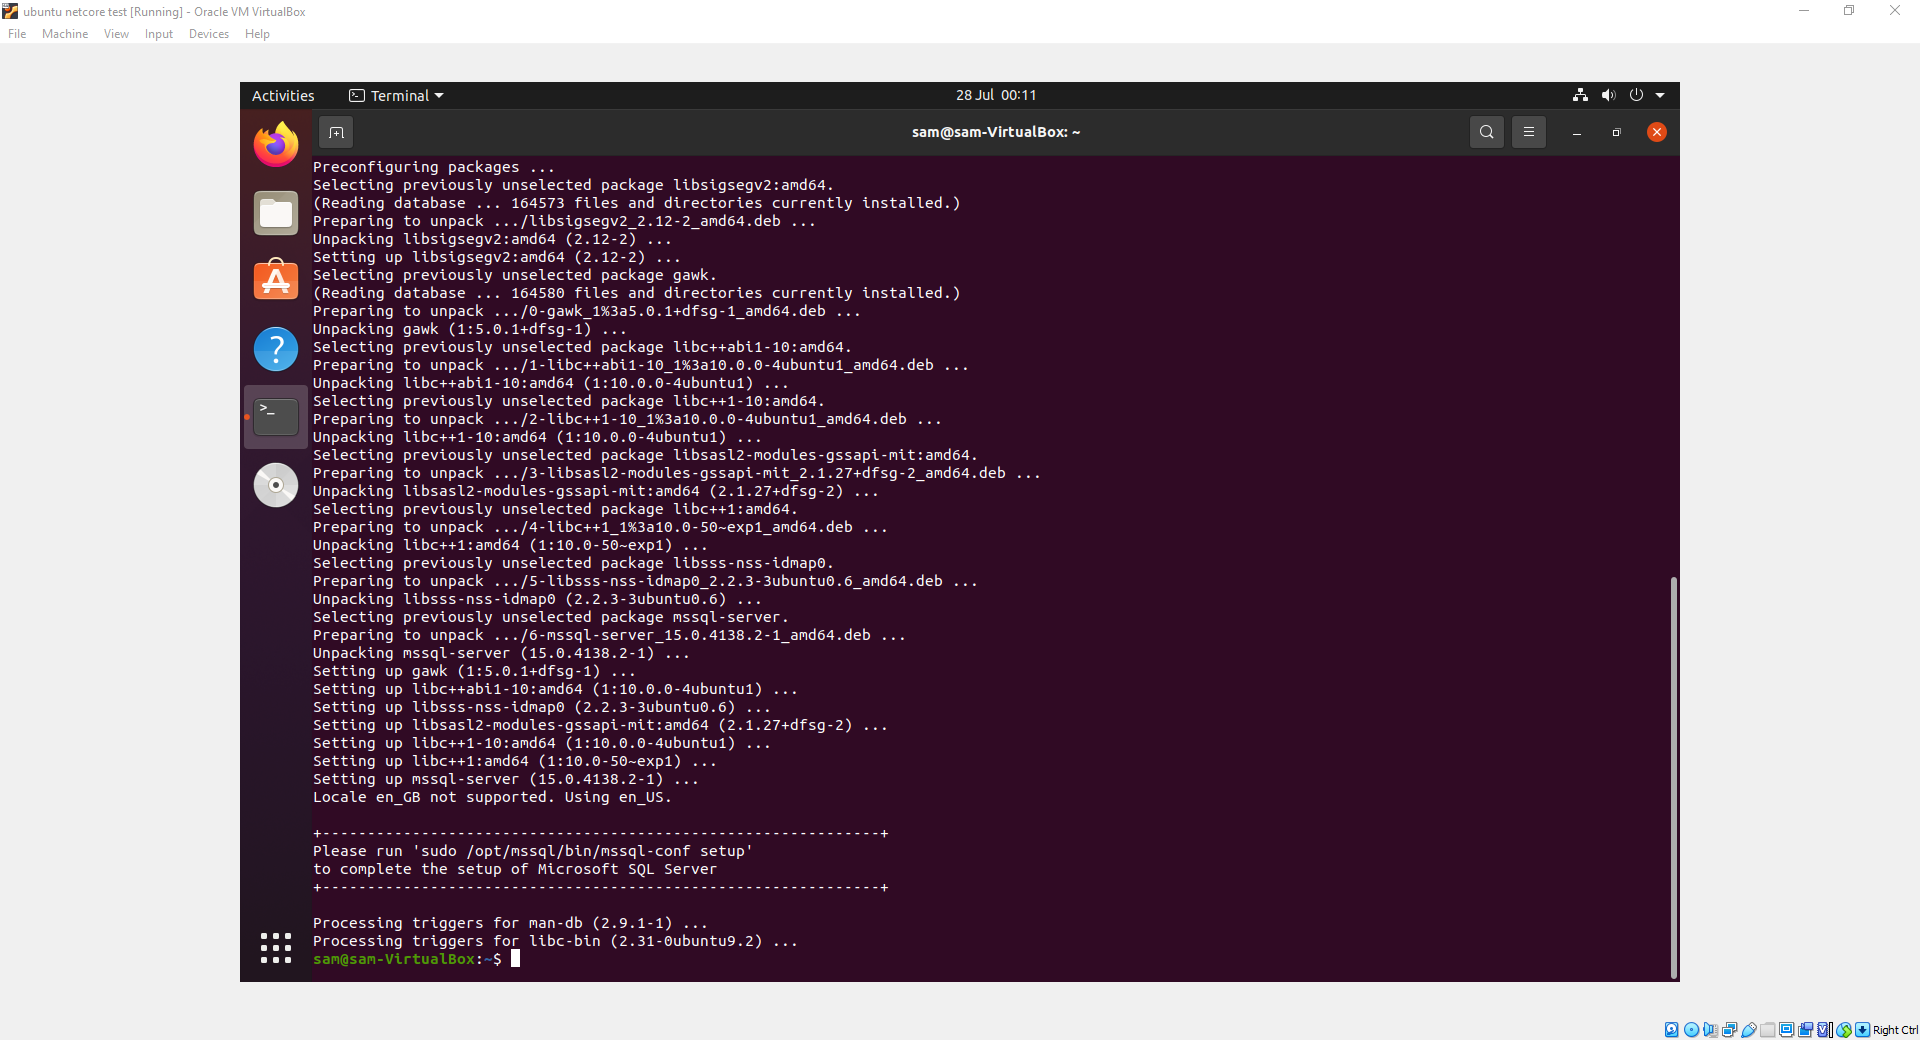
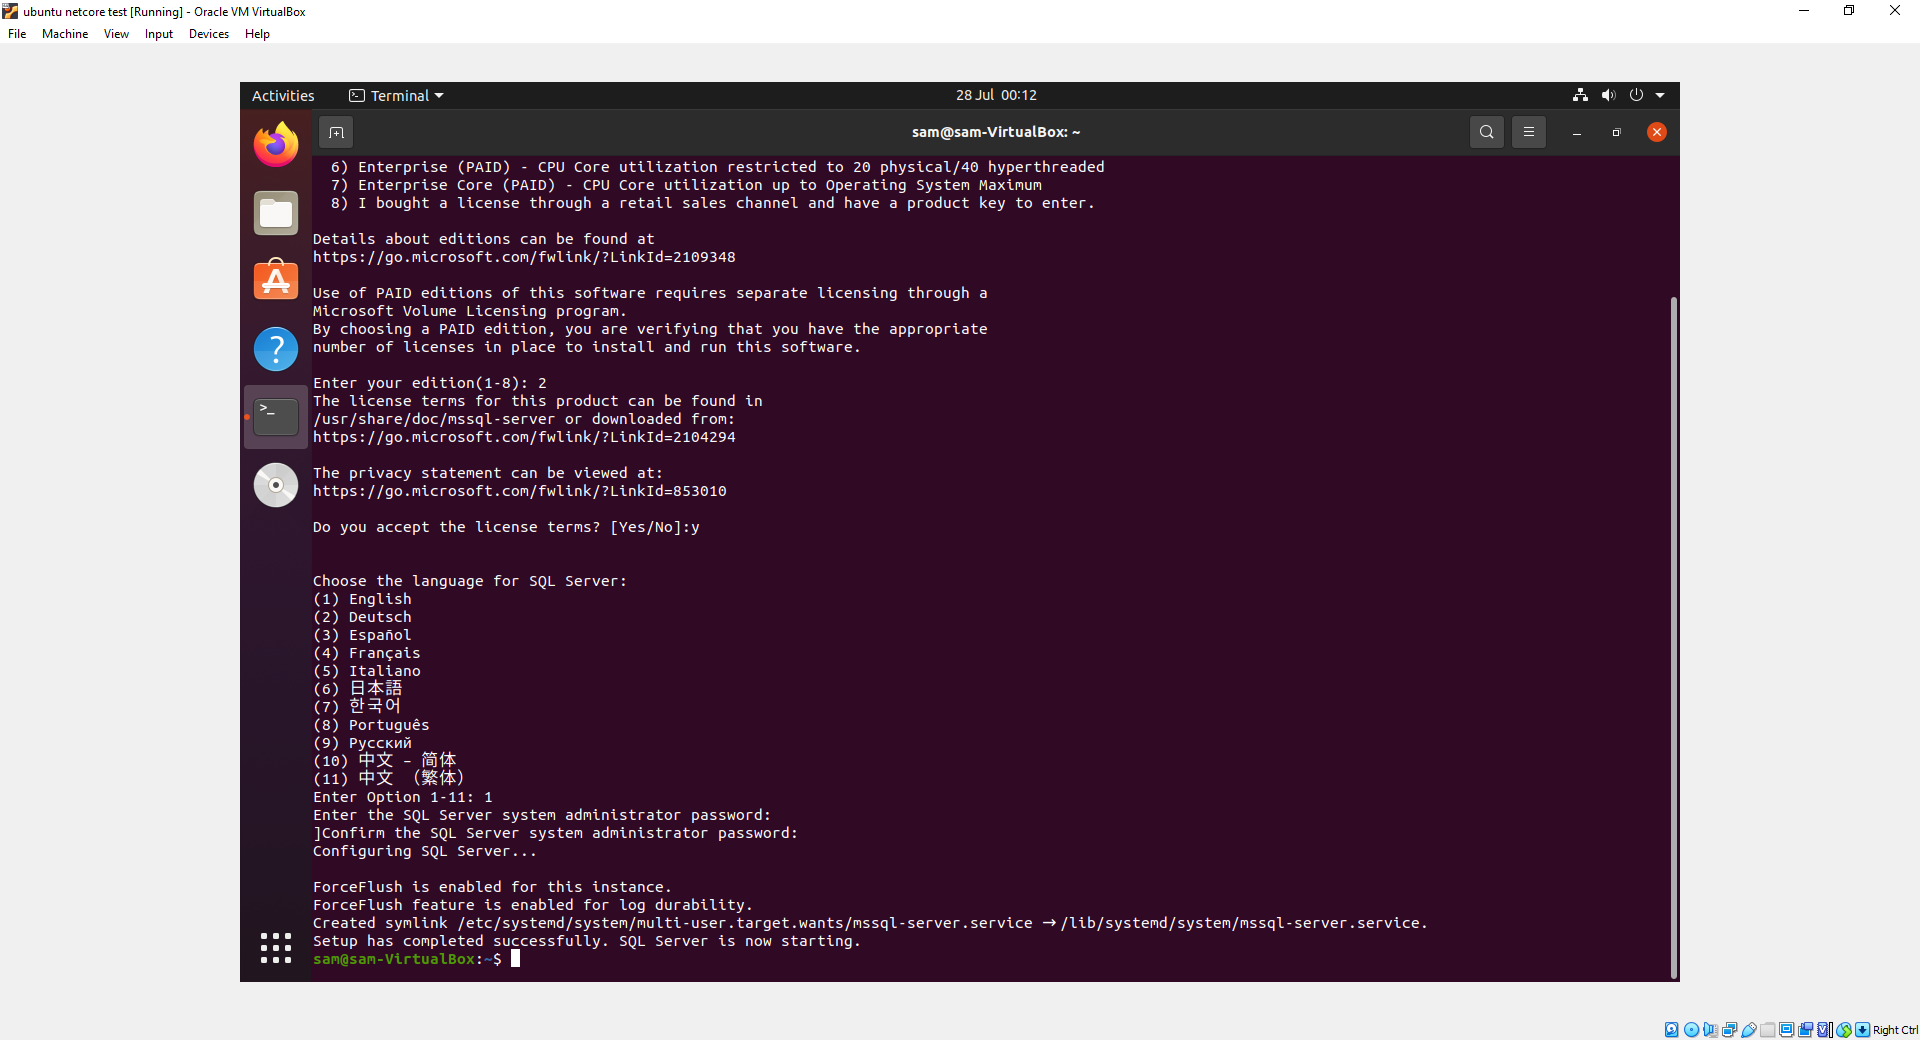
And with that, SQL Server was is now installed on my Ubuntu environment.
Now I need to add a database to the instance so that I have somewhere for Umbraco to install too.
So connect up to your local SQL Server instance using whatever tool you prefer and create a new database, I called mine "Umbraco".
You can achieve this using the CLI with the following command
/opt/mssql-tools/bin/sqlcmd -S localhost -U SA -Q 'CREATE DATABASE umbraco'
and you can verify the creation with the following
/opt/mssql-tools/bin/sqlcmd -S localhost -U SA -Q 'SELECT Name FROM sys.Databases'
Which means the last thing I need to do is download the Umbraco template and kick off a lovely new build!
First off, I'll setup a directory in which I can happily play around in and move my terminal context into it, I do this with the following commands.
mkdir umbraco-nine-playground
cd umbraco-nine-playground
Now I can focus entirely on the .NET core and Umbraco side of things, so first of all, I need to add the Umbraco nuget source.
dotnet nuget add source "https://www.myget.org/F/umbracoprereleases/api/v3/index.json" -n "Umbraco Prereleases"
Followed by the command required to install the new release candidate template.
dotnet new -i Umbraco.Templates::9.0.0-rc001
Once inside, I run the dotnet command to setup a brand new umbraco instance.
dotnet new umbraco -n MyCustomUmbracoProject

Once it has been restored, I can then open the directory that it has created for me in VS code.
code MyCustomUmbracoProject
VSCode will automatically begin to install the dependencies needed if it has not done so before, and then you will need to install the assets specific to the project, required for debugging and running builds via VS Code, this is displayed within a little box, just press the "Yes" button and we can continue.

After this you need to configure your build task, you can do this by pressing F1 to open the command pallett and typing "build", you should see a record for "Tasks: Configure Default Build Task", click on that and then select "build", it will then add something to the .vscode/tasks.json file which configures VS Code to use dotnet build.
You can then run your application by pressing F5, which will open a debugging process and attach VSCode too it, before opening a new browser window running your new local instance. You should then see the familiar, umbraco install screen.
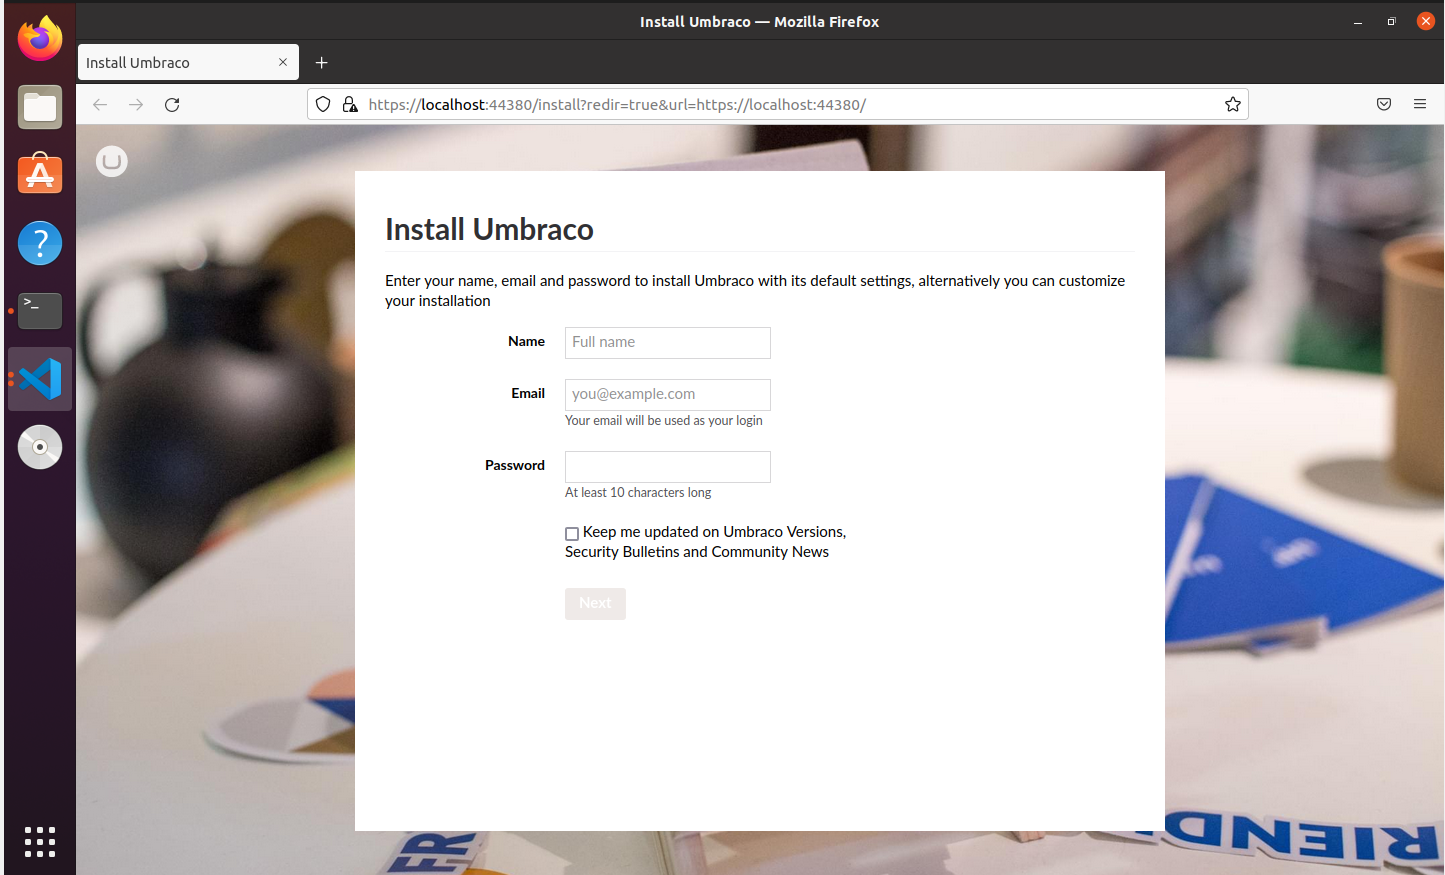
Set your Name, Email and Password up, and then click "Next", now you should see the database configuration screen in which you should enter "localhost" as the Server, "umbraco" as the database name (or whatever database name you decided on), "sa" as the user and whatever password you chose during the configuration step. Once you click "next", umbraco will install and redirect you into your new umbraco back office, running on Ubuntu!
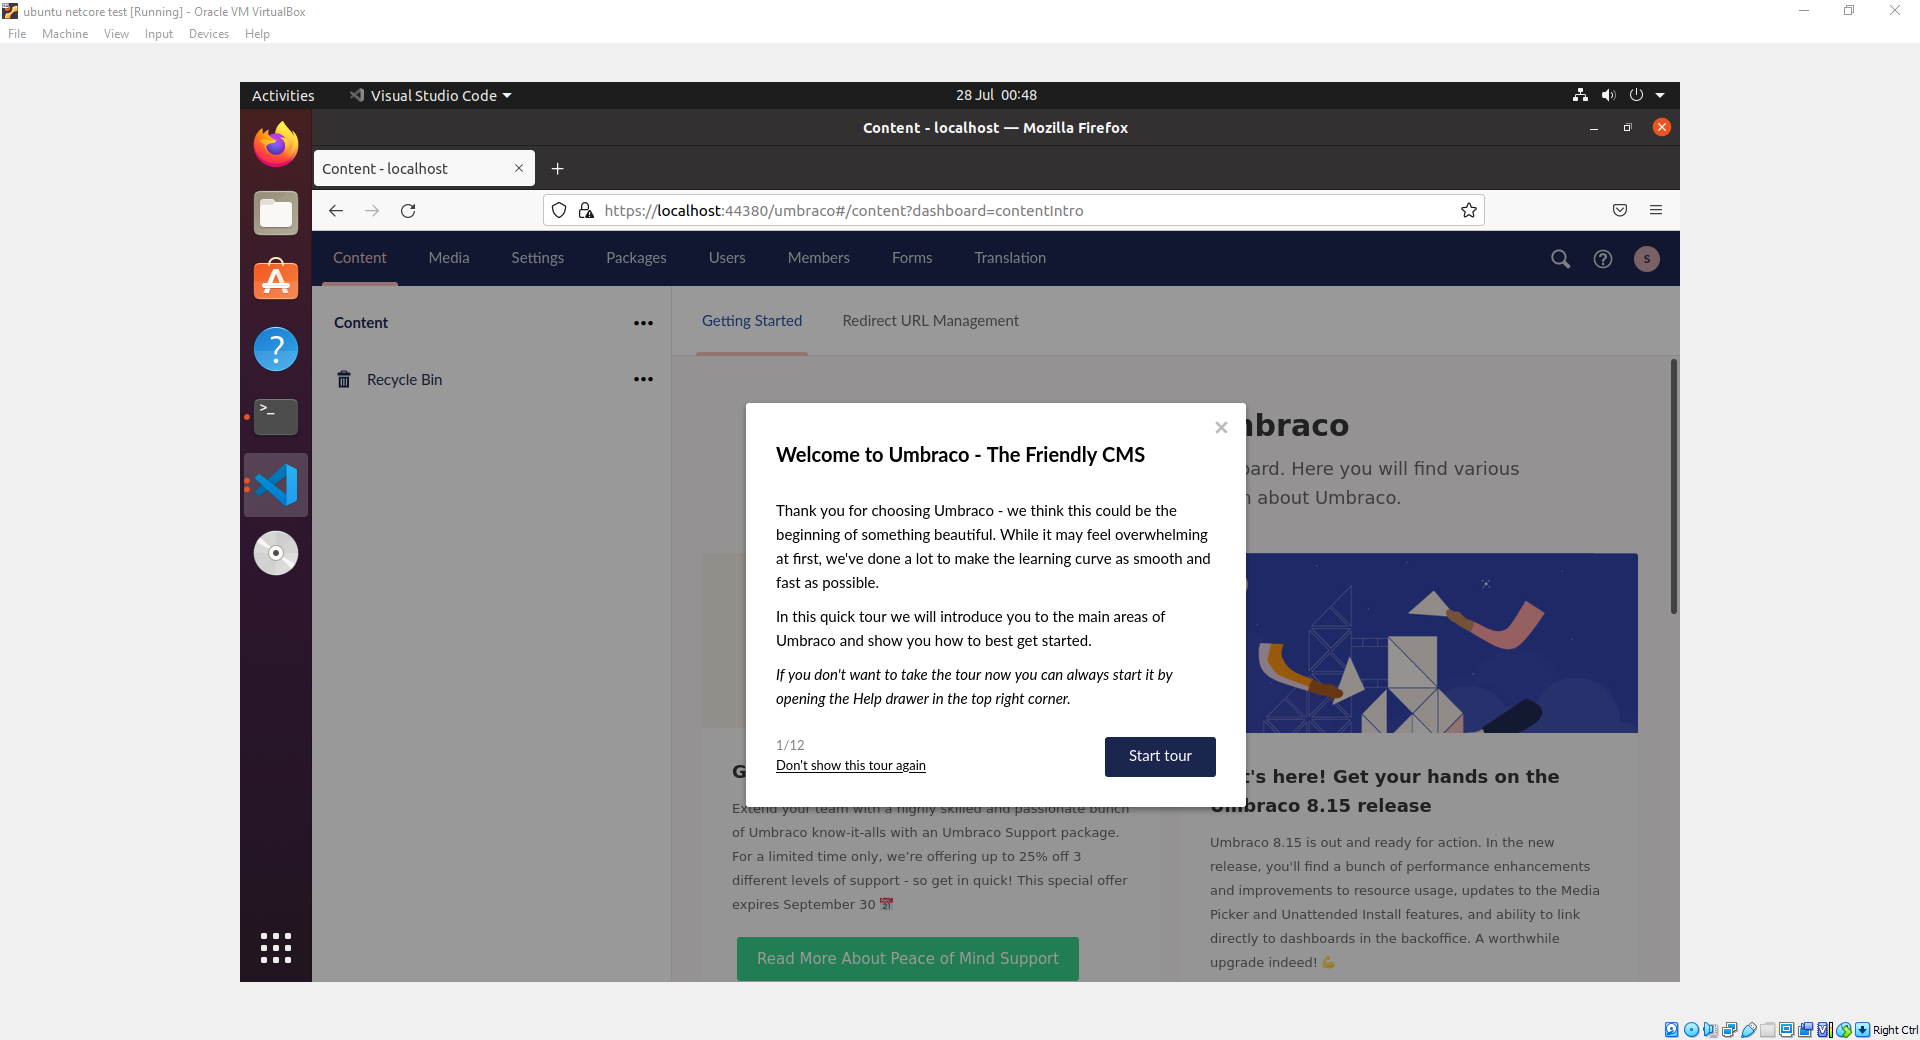
That is as far as we go together for now, happy experimenting folks!
